Tesla Blog
Why You Absolutely Need a HEPA Air Filter for Your Tesla
If you own a Tesla, you might want to consider upgrading to a HEPA air filter. In this post, we’ll explore what a HEPA filter is, why it’s essential for your vehicle, and how to install it. Plus, we’ll share some tips to keep your Tesla smelling fresh!
Key Takeaways
- HEPA filters block harmful particles like bacteria and pollen.
- Installation is straightforward and can be done at home.
- Optional cleaning products can help eliminate musty smells.
- Great for allergy sufferers and anyone wanting cleaner air.
What Is a HEPA Filter?
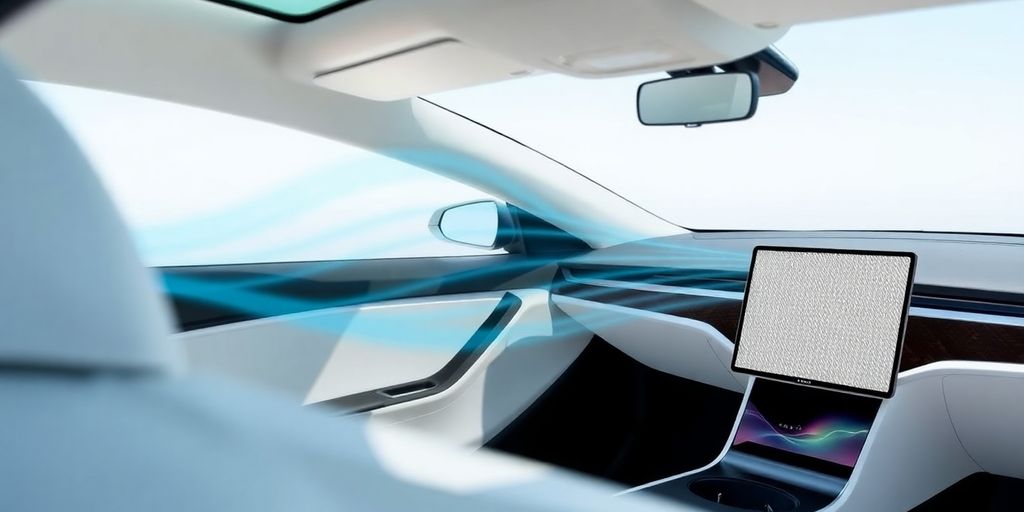
A HEPA filter is designed to trap tiny particles that can be harmful to your health. While Teslas come with a standard air filter, it’s often made of paper and doesn’t do a great job at filtering out smaller pollutants. This is where a HEPA filter shines. It can block particles as small as 0.3 microns, which includes:
- Bacteria
- Smoke
- Pollen
- Gases
By installing a HEPA filter, you can significantly improve the air quality inside your Tesla, making it a safer and more pleasant environment.
Recommended HEPA Filter
One of the best HEPA filters on the market for Teslas is from a company called XTechnor. Here’s why it stands out:
- Three-layer design:
- Honeycomb structure: This design enhances filtering efficiency and extends the filter’s lifespan compared to standard options.
How To Install the HEPA Filter
Installing a HEPA filter in your Tesla is easier than you might think. Here’s a step-by-step guide:
- Gather Your Tools: You’ll need the tools included with the filter, which typically include a pry tool and a screwdriver.
- Access the Filters:
- Remove the Cover:
- Unscrew the Filter Door:
- Replace the Filters:
- Reassemble:
Optional: Get Rid of Musty Smells
If you’ve noticed a musty smell coming from your AC, there’s a simple fix. While you’re changing the filters, consider using a product called Kool-It. Here’s how:
- Spray the Cleaner: After removing the filters, insert the hose from the Kool-It can into the empty compartment and spray the entire can.
- Wait: Let it sit for about 5-10 minutes with the AC on to clean the evaporator.
- Reinstall Filters: After the wait, put your new filters back in, and you’re good to go!
Who Should Get a HEPA Filter?
This filter is perfect for anyone who owns a Tesla. Here’s why:
- Healthier Air: It keeps harmful particles out, making your ride safer.
- Allergy Relief: If you suffer from allergies, this filter can help block pollen and other irritants, especially during spring.
Where To Buy Your HEPA Filter
You can find the XTechnor HEPA filter through various online retailers or at accessoriesfortesla.com. It’s a worthwhile investment for cleaner air in your Tesla.
Giveaway Alert!
For those who made it to the end, I have a special treat! I’m giving away a HEPA filter to one lucky subscriber. To enter, just comment "HEPA Baby" below this post. Make sure you’re subscribed to the channel for a chance to win!
In conclusion, upgrading to a HEPA filter is a smart move for any Tesla owner. Not only does it improve air quality, but it also helps keep your vehicle smelling fresh. Don’t wait—get yours today!